
Often the preservation of your digital photos is relegated to the back burner in today’s fast paced life. Even though we are biased, we do highly recommend allocating some time to this task on a monthly or quarterly basis. Like most chores, you dread taking the first step but once you get into the task it is more enjoyable and satisfying. This is especially true with photos – where reviewing them is like a trip down memory lane – whether that lane is a year-long or 25 years.
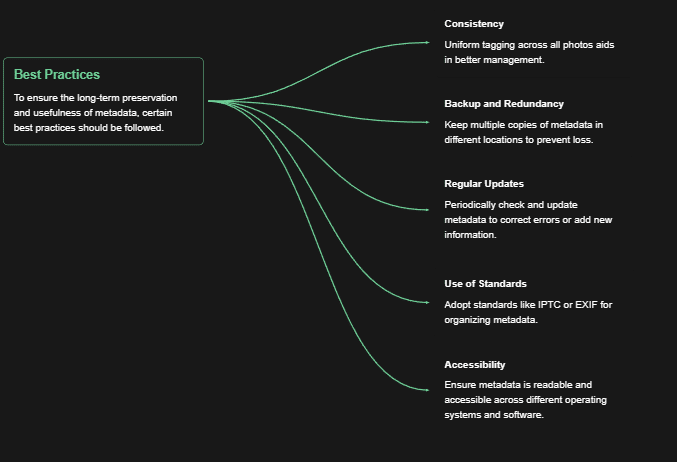
This diagram describes some best practices for preserving your photo library:
You’ll want to establish – if you don’t have one already – a workflow for curating and organizing your photos. Today, most photos originate from your phone or social media. Here is one method that works and tune to suit your own circumstances.
Step 1:
- If your phone is connected to Apple iPhoto or Google Photos, then go to the web interface and review the photos.
- If you have a Dropbox account, you can turn on photo sync, and then via the web interface review all the photos taken on your phone for a given period of time.
- With either of the above methods, select only the best photos since we tend to take too many with digital cameras now. Download them to your PC under the root folder where you store your photos. We recommend grouping photos by year. And, maybe within the year you could setup another folder by major event.
Step 2:
- Go through your social media accounts – and download good pictures of friends and family that you want to save.
- Go through your emails – usually you can search for emails with attachments – and similarly grab the good pictures of friends and family.
- Also, download them to your PC under the root folder where you store your photos – also arranged by year.
Step 3:
- Start up Tag That Photo and the new photos should be scanned; and faces extracted.
- You can tag the faces based on the Suggestions and Unknowns sections. But if you want to add other tags (dates, GPS location and keywords), then using the Search utility in Tag That Photo, find all the photos in the most recent folder created in Step 1 and 2 (year or event). Then choose to open the search result in the Photo Viewer. This could be 50 photos, or it could be 500 photos, depending on how often you curate photos for your library.
- That is the basic flow for curating your photos. Now, don’t forget a very important step is protecting that effort with backups! Backups are super important. Tag That Photo offers a backup option at the bottom of the Settings page. This preserves your database, but another way to backup your tags is to embed the metadata directly in your images.
There are many options for storing your main photo library, both online and offline. Some of the most common ways are:
- Cloud storage services: These are platforms that sync your desktop photos to the cloud. It also means that you can access your photos from any device with an Internet connection. The popular options include OneDrive, Dropbox, Box.net, Google Photos, and iCloud.
- External hard drives: These are very cost-effective methods to store your digital photos. Costs keep coming down and speeds keep going up. Most are connected via a USB cable, and can store tens of thousands of images and videos. There are two main categories of hard drives – HDD and SSD. The SSDs are the fastest and most reliable as they don’t have moving parts. We highly recommend those. They are also the fastest for your primary storage, not just backup.
- USB sticks – these are miniature SSD or flash storage devices. Some can now store up to 1 TB (= 1000GB) of data. They are handy because of their size, but also can be easy to lose, so use as a backup with care.
- Secure Digital (SD) cards: We don’t recommend them for longer term storage. So let’s move on!
We are biased, but we highly recommend storing photos locally on a computer and associated peripheral devices that are under your own control. You can always mirror the data on the local devices to cloud storage for the ultimate in disaster protection.